Student resourcesStudy guide
Chapter 3 Pathogen Taxonomy Online
Explore thorax and abdomen applications, pair-therapy research themes. dairy/terrain notes. And how to open a biomagnetism session.
Key takeaway. Module 3 is the weeks 5 - 6 study map. for thorax and abdomen pair work, session-opening flow. magnet pairs therapy research themes. And dairy/terrain notes in Biomagnetism Education Level I & II - a. free companion checklist, not a substitute for LMS. videos or a medical license.
Who it is for: enrolled online learner and. Certificate candidates who finished Module 2 head/neck. Muscle testing and need lecture order (21 - 28), scanning. Practice goals. And session-start workflow before Module 4 advanced applications.
In short: this published education page lists Module. 3 video units (8 lectures, ~4 hours suggested. over weeks 5 - 6) for Biomagnetism biomagnetism training - thorax, abdomen. (sections 1 - 2), pair-therapy research discussion, session opening sequence. And dairy/terrain education. Course certificates document training completion. they are not government medical licenses.
Topics covered in this module
- Thorax/abdomen protocols
- session opening sequence
- dairy/terrain notes
Need complete video walkthroughs for Module 3 pair placements?Enroll from $945 · Compare tuition plans
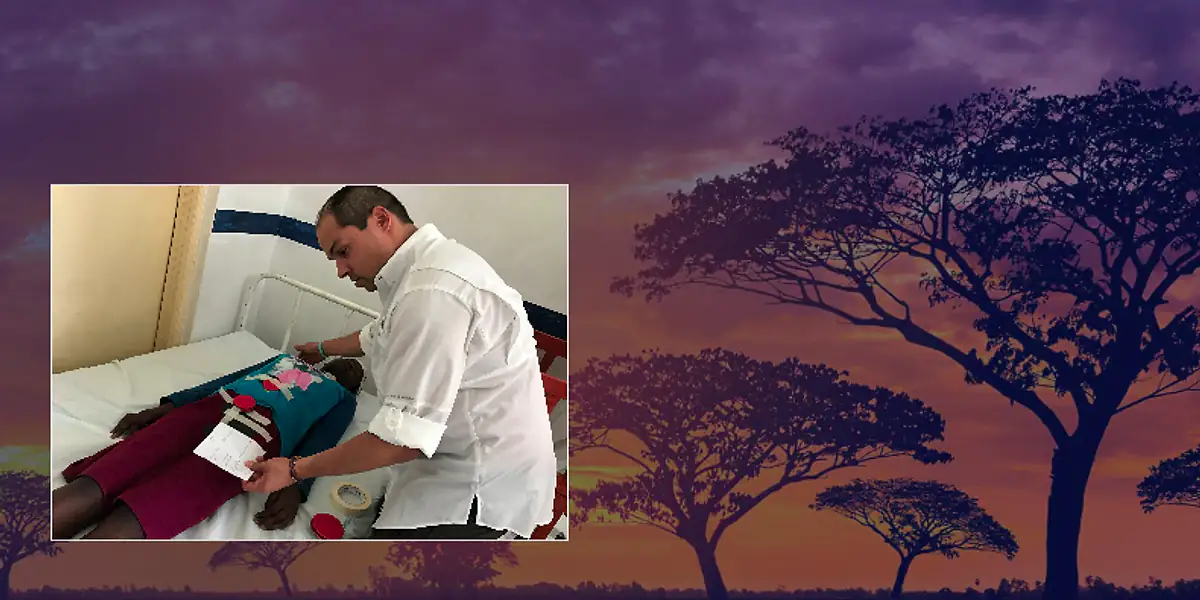
Lectures 21 - 28
Module 3 companion map - published online training videos for Module 3 - Thorax, Abdomen & Research
- Video units
- 8
- Watch time
- ~4 h
- Suggested weeks
- 5 - 6
- Full program
- 57 lectures
Choose another module
Module 3 of six follows the published course order - switch modules without losing lecture sequence.
This page covers: biomagnetism study guide module 3 pathogen pairs
For study guide module 3, the page heading uses these topic words in the sections below: chapter, pathogen, taxonomy, online.
Worth a read if you study study guide module 3: Readers checking sites should treat this page as biomagnetism study guide module 3 pathogen pairs immune. General training sits on /training-online.
Study note on study guide module 3: this supporting guide focuses in short on "biomagnetism study guide module 3 pathogen pairs immune." Use this page when researching this specific subtopic rather than broad general biomagnetism overviews.
Worth noting about study guide module 3: This route documents biomagnetism study guide module 3 pathogen pairs immune for Garcia training context - no cure claims. And no doctor license implied.
Short version for study guide module 3: /study-guide/module-3 explains study guide module 3 in plain words so readers learn safety limits before client biomagnetism.
Clear view on study guide module 3: Research context for study guide module 3 on /study-guide/module-3 supports training decisions - not self-finding or skipped medical care.
A quick note on study guide module 3: Training pathways for study guide module 3 are clear for distance learning with supervised practice components.
Safety rules for study guide module 3 visitors: disclaimer hub · module 3.
What is biomagnetism study guide Module 3?
Definition: A structured lecture companion for Module 3 - guiding enrolled students through thorax, abdomen, session-opening workflow, and research themes taught in the Biomagnetism Training and Beyond curriculum.
Scope note: Thorax and abdomen protocols introduced here require supervision practice before solo client sessions. Dairy and terrain education in this module is conceptual, not a nutrition prescription.
Summary: this published education page lists Module. 3 video units (8 lectures, ~4 hours suggested. over weeks 5 - 6) for Biomagnetism biomagnetism training - thorax, abdomen. (sections 1 - 2), pair-therapy research discussion, session opening sequence. And dairy/terrain education. Course certificates document training completion. they are not government medical licenses.
Who should use this Module 3 study guide?
enrolled online students and. certificate candidates who finished Module 2 head/neck. muscle testing and need lecture order (21 - 28), scanning. practice goals. And session-start workflow before Module 4 advanced applications.
- When to use: you have portal access, completed. Module 2 muscle-testing drills. And want a printable watch order plus mock-session. practice before arms/pelvis work in Module 4.
- When not to use: you have not enrolled. (start at /training-online), skipped Module 2 consent and. testing basics, or want diagnosis/treatment advice - this. is curriculum navigation only.
- Industry context: Industry context. Module 3 torso and visceral pair placement skills. - organ bio-resonance steps, not medical pathology treatment.
Which subtopics appear in Module 3 lectures?
Thorax and abdomen pair applications (sections 1 - 2), biomagnetic pair therapy research themes, session-opening workflow (start → scan → work). And dairy/terrain education - always within wellness training scope, not medical care claims.
- Pair with pairs explained guide and scanning protocol encyclopedia entry while you watch.
- Use the practitioner session checklist when rehearsing mock sessions from the "Getting Started" lecture.
- Previous module: Module 2 study guide · Next module: Module 4 study guide
External sources
- NIH NCCIH - add-on, Alternative, or combined Health. What's In a Name? - national framing for add-on approaches to body-energy visceral. Wellness (not medical care validation).
- the published program’s program site for study guide module 3 visitors - Biomagnetism Programs main-site program notes referenced by this guide (study guide module 3).
Simple study path
How to use this page
Module 3 study path for Module 3 - Thorax, Abdomen & Research: four steps in order, in plain English for international students.
read objectives → watch lectures 21 - 28. in portal order → run a mock session. start → scan → pair placement → open. Module 4 when thorax/abdomen scanning feels organized.
- Step 1
Read your goals
Module 3 (Module 3 - Thorax, Abdomen & Research) objectives cover Thorax/abdomen protocols - they define "finished" for this section.
- Step 2
Watch the videos in order
In your portal, play Module 3 lectures in the numbered order listed below for Module 3 - Thorax, Abdomen & Research.
- Step 3
Practice what you learned
Use Module 3 practice tips on Module 3 - Thorax, Abdomen & Research before advancing - slow reps beat skipping ahead.
- Step 4
Go to the next module
When Module 3 feels solid, open Module 4 or enroll for full Module 3 - Thorax, Abdomen & Research video access.
On this page
Practice goal for Module 3
7 Module 3 teaching lectures for Module 3 - Thorax, Abdomen & Research plus 1 student experience unit
Practice the session opening sequence on printables, then place one taught pair map (study-guide surface this guide)
What you should learn
Learning objectives
After Module 3, you should be able to explain or demonstrate each of these points in your own words.
after Module 3 you should follow. the scanning steps taught in class, organize pair. charts for quick reference, time first visits realistically. (60 - 90 min). And open sessions with a clear start →. scan → placement flow - not diagnose conditions.
- 1
Follow the scanning protocol taught in class
- 2
Organize pair charts for quick reference
- 3
Time sessions realistically (60 - 90 min first visits)
- 4
Open a session with a clear start →. scan → placement flow
Watch in this order
Lecture list for Module 3
8 units · lectures 21 - 28 of 57 in the full program. Open each title in your online training portal - this list is only your checklist.
eight units cover thorax, abdomen (sections. 1 - 2), biomagnetism research, getting started with. your biomagnetism session, dairy and your health. plus a student experience segment - watch in. listed order only.
- 21
Getting to Know Biomagnetism Education - module-3
Teaching lectureTeaching video · Module 3
- 22
study guide module 3: Thorax (module-3 · this guide)
Teaching lectureTeaching video · Module 3
- 23
Abdomen (Section 1) - module-3
Teaching lectureTeaching video · Module 3
- 24
Biomagnetic Pair Therapy Research in this study guide module 3 sequence (module-3)
Teaching lectureTeaching video · Module 3
- 25
Abdomen (Section 2) (study guide module 3 · module-3)
Teaching lectureTeaching video · Module 3
- 26
Getting Started with Your Biomagnetism Session - module-3
Teaching lectureTeaching video · Module 3
- 27
study guide module 3 unit here (module-3): Dairy and Your Health
Teaching lectureTeaching video · Module 3
- 28
Unit - Biomagnetism Experiences · module-3 · study guide module 3
Student storyPublished-course student story tied to Module 3 - Thorax, Abdomen & Research
Apply what you watched
Practice tips
Short weekly actions for Module 3 - Thorax, Abdomen & Research. Keep the language simple for future you.
limit to a focused pair set. per volunteer session, use the therapist session checklist. And rehearse mock session flow with printable sheets. before Module 4.
- Tip 1
Limit to a focused pair set per volunteer session
- Tip 2
Use /resources/practitioner-session-checklist
- Tip 3
Run a mock session start → scan →. pair placement using printable sheets
Optional next step
Ready for full video access?
Module 3 - Thorax, Abdomen & Research study guides remain free on this site. Full Level I & II video access opens after enrollment; published tuition starts at $945 one-time. You can compare payment options before you decide.
Common questions
Module 3 study guide FAQ
What is Module 3 in Biomagnetism Course biomagnetism training?
Worth noting about study guide module 3: Module 3 - Thorax, Abdomen & Research -. Is weeks 5 - 6 of the online Level I. & II path: eight video units (lectures 21 - 28). On thorax and abdomen applications, pair-therapy research themes. Session opening. And dairy/terrain notes. This page is the free lecture checklist. Videos live in your training portal.
Who should use the Module 3 study guide (study guide module 3)?
Good to know about study guide module 3: Enrolled learner and certificate candidates. Who finished Module 2 head/neck muscle testing and. Want a plain-English watch order, practice goal. And links to scanning and session guides -. Not people checking programs without portal access.
For module 3: what topics does Module 3 cover?
Clear view on study guide module 3: Thorax pair applications, abdomen (sections 1 - 2), biomagnetism research discussion, how to open a biomagnetism session, dairy. And body balance education, plus a learner experience unit - all wellness-education context from the published course.
study guide module 3 — How long should I spend on Module 3?
Worth noting about study guide module 3: The course map suggests weeks 5 - 6. With roughly four hours of video plus mock-session. Practice. You have 12 months of access - slow. Down if scanning order or session timing still. Feels rushed.
On this module 3 guide: does finishing Module 3 mean I can diagnose. or treat medical conditions?
Short version for study guide module 3: No. Module 3 teaches thorax/abdomen pair work and session-opening. Skills within training scope. Certificate documents course finishing. It is not a doctor license, right to prescribe. Or emergency-care training proof.
What should I study before Module 3?
A quick note on study guide module 3: Complete Module 2 muscle-testing and head/neck lectures, review the muscle testing FAQ. And topic list entry, then use the Module 2 study guide and scanning steps linked from learner resources.
Helpful reading